
So now your asking, whats the DIY here? Well, I'm going to restore this brace. Notice the dark patina? Thats rust! Though the wooden handles are fine and the chuck and ratchet mechanism work fine, the overall condition is bad. I debated whether or not to restore it versus leaving it that way, but finally decided that since I would probably use it a lot, I didn't want the rust to eventually destroy it. So, heres what I did.
STEP 1: CLEANING
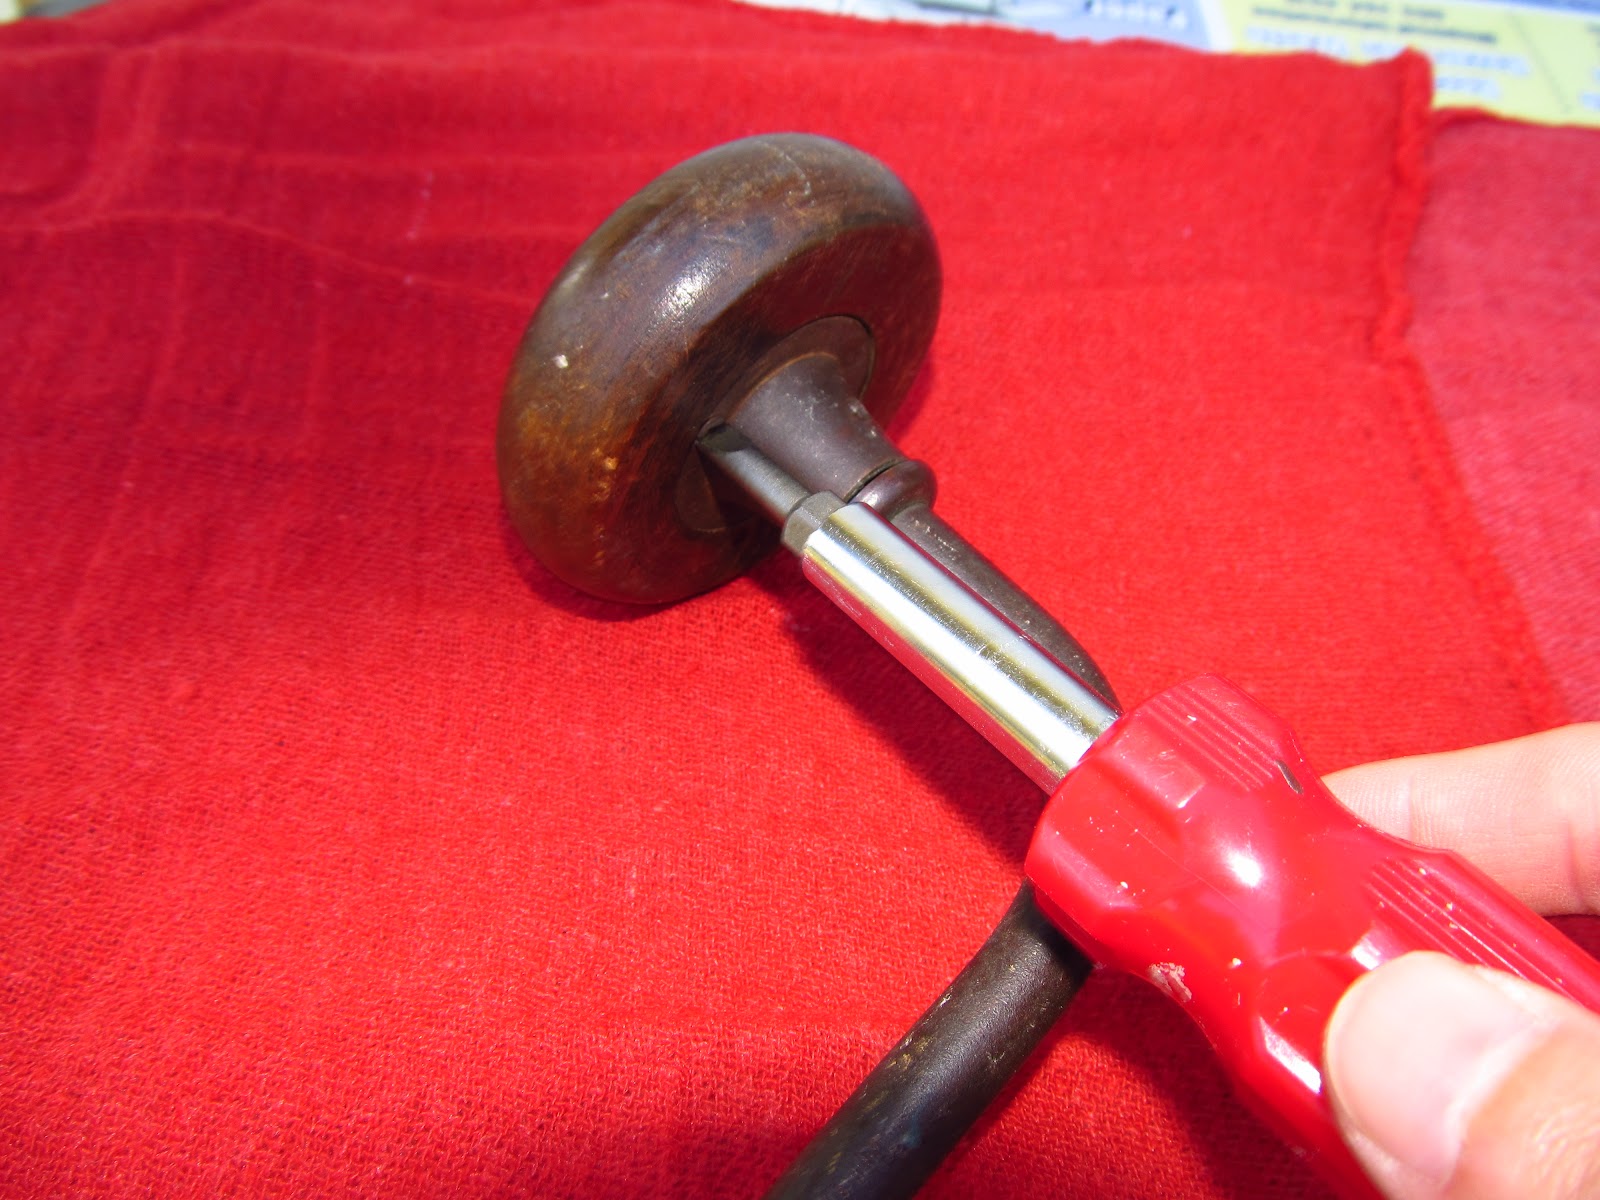
 To start, you must remove the handle from the top of the brace to protect it from the other chemicals and so that you can reach all parts of the brace. The handle is held on by two small screws on the underside. Once these are removed, I found that the handle itself was threaded and so unscrewed it from the frame. So basically the two screws are just there to prevent it from spinning itself off..
I began by thoroughly cleaning the brace with degreaser. This will get all the crud in all the hard to reach areas.


STEP 2: RUST REMOVAL
 After wiping the brace dry, I began applying a derusting gel. You should always wear gloves and use a brush when applying the gel. Be careful of spills and rinse the gel off if you get it on your skin. It took quite a few coats to get down to bare metal. More than I expected actually. Usually this gel works in one or two coats, but I ended up reapplying it about ten times. The first few coats were left on for 15 minutes as per the directions and then wiped dry. The remaining coats were left on for 30 minutes each. Finally, I got back to bare metal. Even then I had to go back with steel wool to get rid of excess material.
STEP 3: FINISHING
I finished off by adding some metal polish. I wiped it on like you would on your car, and then wiped it back off after a few minutes with a clean rag. The last step is to put the wooden handle back on.
And here is the result. It took a lot of blood, sweat, and tears, but after several hours of work, A rust free tool with many good years of life left in it appeared.

No comments:
Post a Comment